Professional and Industrial Portable 3D Scanners
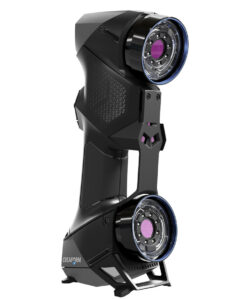
The HandySCAN 3D | BLACK Series delivers accurate, high-resolution and repeatable results, regardless of the measurement setup quality and no matter the user experience. Featuring dynamic referencing, both the scanner and part can move during measurement and still provide an accurate and high quality scan.
Accuracy: 0.025 mm (0.0009 in)
Volumetric accuracy: 0.020 + 0.040 mm/m (0.0008 in + 0.0005 in/ft)
Reliable acceptance test
Based on VDI/VDE 2634 part 3 standard
ISO 17025 accredited laboratory
High resolution for fine details
Integrated photogrammetry
High accuracy on large measurements with volumetric accuracy optimization
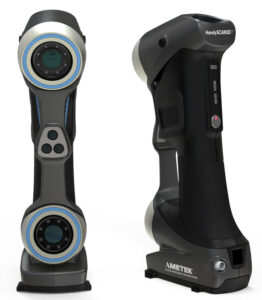
The HandySCAN 3D | SILVER Series delivers accurate and reliable 3D measurements regardless of the measurement setup quality and the user’s experience level. Featuring dynamic referencing, both the scanner and part can move freely during scanning, and an accurate and high-quality scan can still be obtained.
Accuracy: Up to 0.030 mm (0.0012 in)
Volumetric accuracy: 0.020 ± 0.060 mm/m (0.0008 in ± 0.0007 in/ft)
High repeatability and traceable certificate
High level of detail
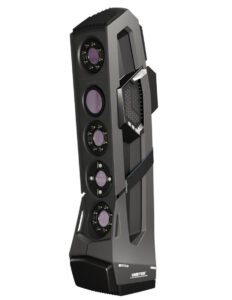
The Go!SCAN 3D is our fastest, user-friendly handheld 3D scanner. A powerful tool during the product development phase, the Go!SCAN 3D quickly measures any complex surface making it possible to “get it right” the first time. With its seamless integration to your 3D modelling software and your product life cycle management workflow, it will greatly improve product development, foster innovation and shorten time to market.
Designed to scan any object without need for a set-up, it offers flawless texture and geometry acquisition as well as impressive details in a rich color palette. Just go…and scan!
Request more information
reddot award 2019
High level of details
Accuracy up to 0.050 mm (0.0020 in)
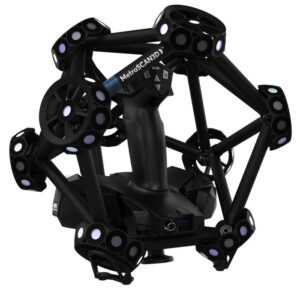
The MetraSCAN 3D features 15 laser crosses and a high measurement rate to accelerate 3D scanning processes. Thanks to quick setup and onboarding, real-time scans and ready-to-use files, your 3D scanning workflow will never have been faster.
High measurement rate
1,800,000 measurements/second
Large scanning area for all types of parts
15 laser crosses
Ultra-quick setup
No warm-up time; users can be up-and-running in less than 5 minutes
Accuracy: 0.025 mm (0.0009 in)
Volumetric accuracy: 0.064 mm (0.0025 in)
Reliable acceptance tests
Based on VDI/VDE 2634 Part 3 standard
ISO 17025 accredited laboratory
Shop floor accuracy with dynamic referencing
Measurement accuracy insensitive to environmental instabilities
High resolution
Measures all types of complex and highly detailed parts
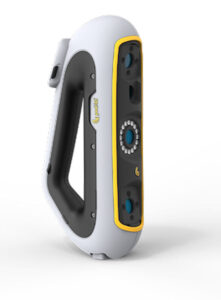
peel 3 takes your 3D scanning experience to new heights. Everything about peel 3d scanners has been redesigned, rethought and revamped. For an affordable turnkey professional-grade 3D scanning solution, peel 3 packs a powerful performance punch.
High-fidelity objects
Digital archiving
Human anatomy
Orthotics and prosthetics
Converts handmade objects to digital
Software
VXmodel: SCAN-TO-CAD SOFTWARE MODULE
VXmodel is a post-treatment software module designed to optimize meshes and prepare 3D scans for 3D printing. VXmodel also enables designers and engineers to finalize 3D scan data and use it in their reverse engineering and product development workflows.
VXinspect: DIMENSIONAL INSPECTION SOFTWARE MODULE
VXinspect is a dimensional inspection software that enables quality control and quality assurance professionals to perform inspections and generate reports based on meticulous engineering requirements.
NDT PIPELINE INSPECTION FOR OIL AND GAS INDUSTRY (PipeCheck)
Pipecheck
When pipeline operators look for an NDT service company, technology and quality of non-destructive testing services are key. In particular NDT technologies must help technicians perform inspections efficiently, without compromising on accuracy and highly reliable results.
Pipecheck software, combined with the Go!SCAN SPARK, now supports textures and colours on 3D meshes. Critical information, such as surface finishes, drawn references and coating conditions, are now visually displayed right on the component’s surface within the Pipecheck software. Take your pipeline analyses to a whole new level with this handy new feature. Communicating your inspection results to customers is simpler than ever before.

